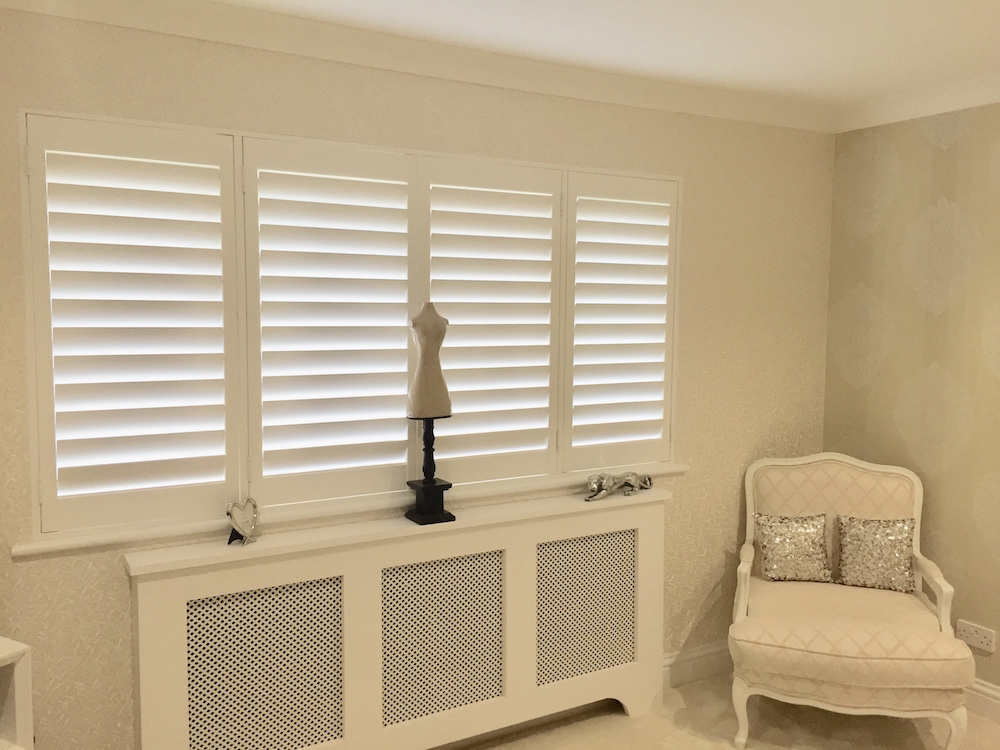
So your plantation shutters have been measured and delivered, and now it’s time to install them. Of course, at this point, it’s not too late to ask one of our expert fitters to install them for you – many of our DIY clients have regretted that they didn’t opt for our fitting service, but it is possible to install your shutters on your own.
So you have already chosen the mounting option and framing style that best suits your window, so it’s now just a matter of getting your shutters installed:
Preparing to install your plantation shutters
It’s essential that you’re prepped for installing your shutters with the necessary tools and materials:
- Sharp pencil
- Measuring tape
- Spirit level
- Drill
- Screwdrivers
- Screws, plugs and caps (as provided)
- Caulk
- Damp cloth
Once you have the appropriate tools at hand, clear your working space, ensuring all furniture and furnishings are out of your way. Carefully open and layout your shutters, positioning the frames around the panels, sliding the corners together to your complete shutter blinds.
The plantation shutters installation process
Once you’ve assembled your shutter blinds, lift your frames into place (you may need a second pair of hands to help you with this). Depending on the style of your shutter, you will need to create some fixing holes by partially drilling the screws in. Once you have your fixing holes, remove the screws and the frame, then drill a full hole and insert your raw plug.
Next, place the frames back on the window space, making any required adjustments to the spacing and the positioning before securing the hinges in place with a screw. If you have any gaps around the frame, seal them using decorator’s caulk, using a damp cloth to wipe off any residue.
If you get stuck while installing your plantation shutters, call Totally Shutters who will talk you through the process over the phone. Alternatively, call 0203 960 69 63 for more information on our shutter blinds. All shutter blinds from Totally Shutters come with a 5-year guarantee.


